No-Knead Sandwich Bread (Soft, Fluffy, and Completely Foolproof!)
There’s nothing quite like the smell of freshly baked bread filling your kitchen—but what if you could have that heavenly aroma without kneading, eggs, or butter? This no-fuss sandwich bread recipe proves that making bakery-quality bread at home doesn’t have to be complicated. With just a handful of pantry ingredients and a few simple steps, you can bake a loaf that’s unbelievably soft, light, and irresistibly delicious. It’s the kind of recipe that once you try, you’ll never go back to store-bought bread again.
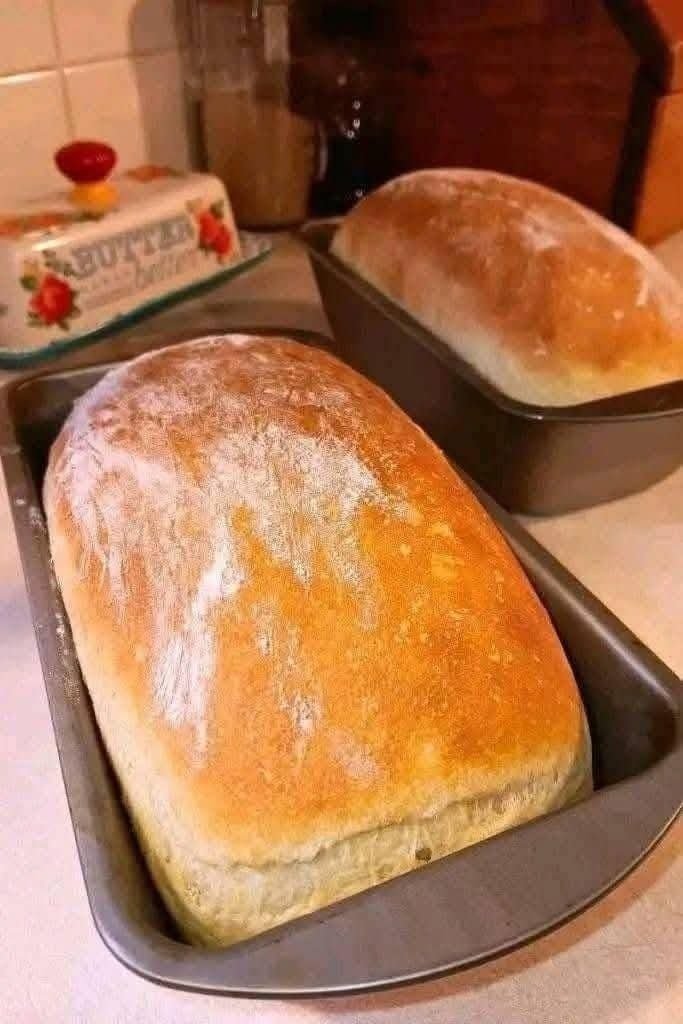
This homemade sandwich bread is perfect for everything—from morning toast to lunchtime sandwiches and even late-night snacks. It’s pillowy inside, beautifully golden on the outside, and stays fresh for days. The best part? It’s so easy, you’ll find yourself making it again and again. In fact, once you share it, your friends or coworkers might start asking you to bake them a loaf too!
Why You’ll Love This No-Knead Bread Recipe
There’s something magical about this recipe—it’s almost effortless, yet the results are stunning. Unlike traditional bread recipes that require kneading or special techniques, this version skips the hard work entirely. Just mix, rest, rise, and bake. Here’s why you’ll love it:
No kneading required: Forget about dough hooks or messy hands. This dough comes together with a spoon and a little patience.
No eggs or butter: Perfect for anyone avoiding dairy or eggs, yet still soft and tender.
Beginner-friendly: Even if you’ve never baked bread before, this recipe is nearly impossible to mess up.
Light, fluffy texture: The bread rises beautifully, creating a cloud-like interior perfect for slicing.
Versatile: Use it for toast, sandwiches, garlic bread, or even French toast.
Ingredients You’ll Need
3 ½ cups (440g) all-purpose flour
1 ½ cups (360ml) warm water
2 teaspoons sugar
1 ½ teaspoons salt
2 ¼ teaspoons (1 packet) instant yeast
How to Make the Softest No-Knead Sandwich Bread
Step 1: Activate the yeast
In a large bowl, combine warm water, sugar, and yeast. Let it sit for 5 to 10 minutes until the surface becomes foamy. This shows that your yeast is active and ready to go. The water should be warm, not hot—around 100–110°F (38–43°C) is perfect.
Step 2: Mix the dough
Add the flour and salt to the bowl. Stir using a spoon or spatula until everything is well combined. The dough will look sticky and shaggy at this stage, but that’s exactly what you want. No kneading is necessary—the gluten will develop naturally as the dough rests.
Step 3: Let it rise
Cover the bowl with plastic wrap or a damp kitchen towel and let it rise at room temperature for about 1 hour, or until doubled in size. You’ll know it’s ready when the dough looks airy and slightly bubbly.
Step 4: Shape and second rise
Grease a loaf pan with a bit of oil or cooking spray. Gently transfer the dough into the pan, smoothing out the top with a spatula. Don’t press it down too hard—keep that light, airy texture intact. Cover again and let it rise for another 30 minutes, until it reaches just above the top of the pan.
Step 5: Bake to golden perfection
Preheat your oven to 375°F (190°C). Bake the bread for 30–35 minutes, or until the top is golden brown and the loaf sounds hollow when tapped on the bottom. If you have a kitchen thermometer, the internal temperature should reach around 190°F (88°C).
Step 6: Cool and slice
Remove the loaf from the pan and let it cool completely on a wire rack before slicing. This step is crucial—cutting into hot bread can make it gummy inside. Once cooled, slice and enjoy with butter, jam, or your favorite sandwich fillings.
The Secret to the Perfect Texture
The magic of this recipe lies in the hydration and resting time. The warm water and long rise allow the yeast to work slowly, creating those lovely air bubbles that make the bread soft and fluffy. Skipping kneading means the dough retains more moisture, giving you a tender crumb every time.
Tips for Success
Use fresh yeast: Expired yeast won’t rise properly, leading to dense bread. Always check the date before starting.
Measure accurately: Too much flour can make the dough heavy. For best results, spoon and level your flour instead of scooping directly from the bag.
Don’t rush the rise: The dough needs time to develop its texture and flavor, so let it rise fully before baking.
Add flavor boosts: Mix in a drizzle of olive oil, a sprinkle of herbs, or a handful of seeds for variety.
Flavor Variations You’ll Love
This basic recipe is incredibly flexible. Here are a few ways to make it your own:
Garlic Herb Bread: Add 1 teaspoon of garlic powder and 1 tablespoon of dried herbs like rosemary or oregano to the flour.
Honey Oat Bread: Replace the sugar with 2 tablespoons of honey and sprinkle oats on top before baking.
Whole Wheat Version: Substitute half the all-purpose flour with whole wheat flour for a nutty, hearty flavor.
Cheesy Bread: Stir in ½ cup of shredded cheese (cheddar or mozzarella) for a savory twist.
How to Store Your Bread
Once your bread has cooled completely, wrap it tightly in plastic wrap or store it in an airtight container. It will stay soft for 2–3 days at room temperature. For longer storage, you can refrigerate it for up to 5 days or freeze slices in a zip-top bag for up to a month. Toasting slices straight from the freezer brings them back to life perfectly.
NEX PAGE…